Happy New Year 2018 to all my customers.
My sarahs-dolls.com website has now been transferred to Etsy because of Malware. You can still use the sarahs-dolls link to get there. This is my direct link.
I have all the downloadable patterns on there, plus the DVD ($19.50), and the kits and supplies will be on soon as well.
Hope to 'meet' you in 2018.
Sarah :-)
Tuesday, January 2, 2018
Wednesday, June 7, 2017
And Yet Still Here!
I'm back and still here. My website was down due to Malware and I didn't realise for a few weeks. The techie has now fixed the problem. If you have any questions feel free to contact me any time.
Sarah
Sarah
Thursday, June 18, 2015
Still Here
I am still offering the downloadable patterns, the kits, the downloadable DVD and the hardcopy DVD. The kits come with free pattern.
Website is here: http://sarahs-dolls.com/
I am still homeschooling so am not doing any sewing at the moment: my life is just too busy.
If you have any questions, don't hesitate to contact me.
Website is here: http://sarahs-dolls.com/
I am still homeschooling so am not doing any sewing at the moment: my life is just too busy.
If you have any questions, don't hesitate to contact me.
Saturday, May 4, 2013
New Website and Downloadable DVD!
My bright and shiny new website has now been uploaded here: http://sarahs-dolls.com/ Please let me know what you think.
 The other piece of exciting news is that my DVD is now in downloadable form, so you don't have to wait for it to be sent.
New Downloadable Waldorf Doll Making DVD
The other piece of exciting news is that my DVD is now in downloadable form, so you don't have to wait for it to be sent. New Downloadable Waldorf Doll Making DVD
How To Weight A Doll - TUTORIAL
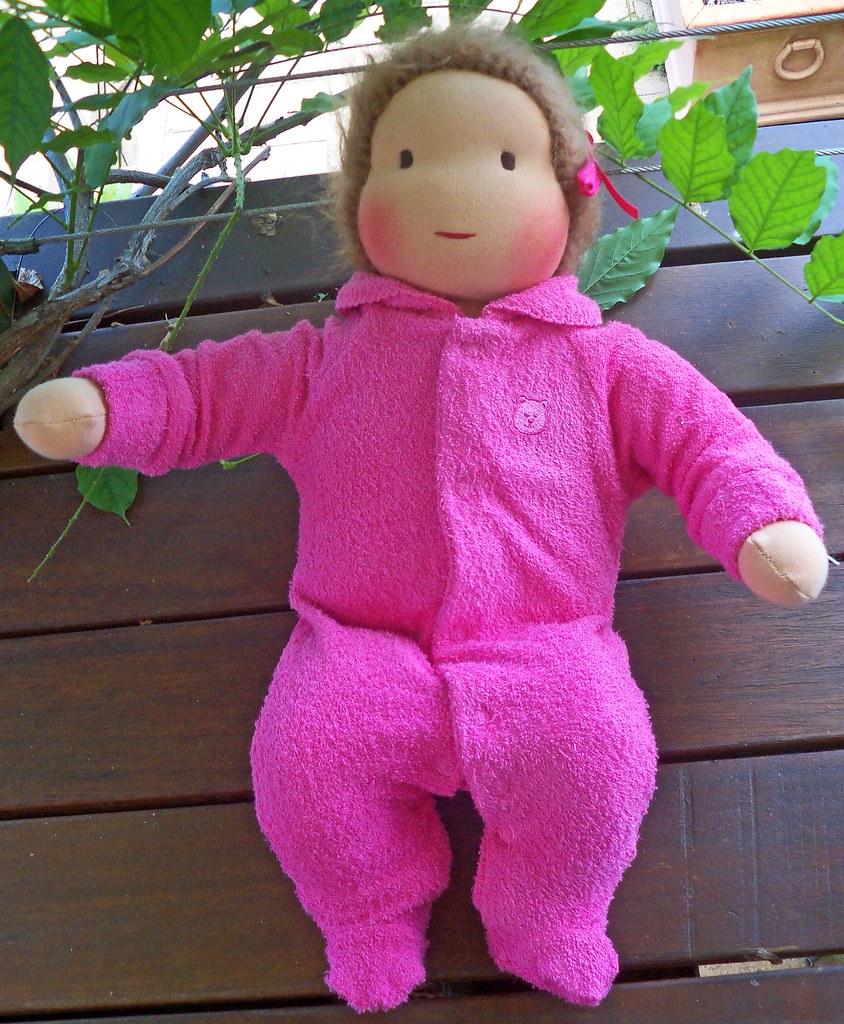
Weighted dolls feel so amazingly real, and children feel comforted by the solid feeling of the extra weight. The best dolls to weight are the baby dolls, and in this tutorial I am weighting the DreamTime baby from this pattern. I use quartz sand to weight my dolls because, for one, it is in abundance where I live and, for two, I have tried rice and millet and both got eaten - once by mice and the other by weevils! So I find sand the best product to weight dolls. I usually stick to between 200-250gms of extra weight, because any more than that puts too much pressure on the stitching and fabric.
Step 1: Find some sand. My backyard is full of it! Put it through a sieve and throw away any sticks or sharp bits. 2. Sew a bag (approx 3.5"-2.5") using the sewing machine on a small stitch, fill with sand to 200-250gms
 3. Tightly hand sew the open bit, and soften the corners of the bag.
 4. Now the bag is ready to place inside the doll's body.
 5. Encase with wool stuffing:
 6. Stuff the buttocks of the doll;
 7. Push the bag, surrounded by wool stuffing into the lower belly region of the doll's body, then continue stuffing as before:
 8. Use a wooden spoon to make sure that body is stuffed evenly.
 9. Sew doll as per the rest of the pattern:
 Your doll is ready!
 If you have any questions, feel free to contact me or leave a message below.
_________________________________________
Step 1: Find some sand. My backyard is full of it! Put it through a sieve and throw away any sticks or sharp bits.
2. Sew a bag (approx 3.5"-2.5") using the sewing machine on a small stitch, fill with sand to 200-250gms 3. Tightly hand sew the open bit, and soften the corners of the bag.4. Now the bag is ready to place inside the doll's body. 5. Encase with wool stuffing: 6. Stuff the buttocks of the doll; 7. Push the bag, surrounded by wool stuffing into the lower belly region of the doll's body, then continue stuffing as before: 8. Use a wooden spoon to make sure that body is stuffed evenly. 9. Sew doll as per the rest of the pattern:
 Your doll is ready! If you have any questions, feel free to contact me or leave a message below.
_________________________________________
Friday, February 8, 2013
Welcome to Another Year of Waldorf Doll Making
Hello fellow Waldorf Doll makers!
Yes, I am still here and going strong. I'm still homeschooling this year and probably next year as well, so my priorities have shifted to selling the DVDs, downloadable patterns and supplies. The custom made dolls will return again once we're reached our homeschooling goals.
Stay tuned as there may be some exciting new options coming up, using all the latest technology, for teaching dollmaking from my website.
If you have any questions, or have any difficulties whatsoever, please don't hesitate to contact me.
Friday, March 16, 2012
Update
I will be homeschooling this year, and then probably for the next 2-4 years. So, I am too busy to make made-to-order dolls.
However, you can:
1. Buy ready made dolls from my website here or at Etsy.
Or, challenge yourself and ....
1. Purchase an instantly downloadable pattern and make your own.
2. Buy a kit, which comes with a free pattern:
From time to time I hope to keep adding dolls to the Dolls Ready for Instant Purchase section of my website.
Saturday, November 12, 2011
Lots Of New Dolls Ready for Christmas Adoption
I now have a new facebook page so drop in and "like" me! The dolls you see there are for sale on my website here. To enlarge the photos click on the thumbnail and then click again on the photo for an even larger size. Or see them at Etsy here. Here are just three:
Tuesday, October 25, 2011
Tips for Boys and New Dolls
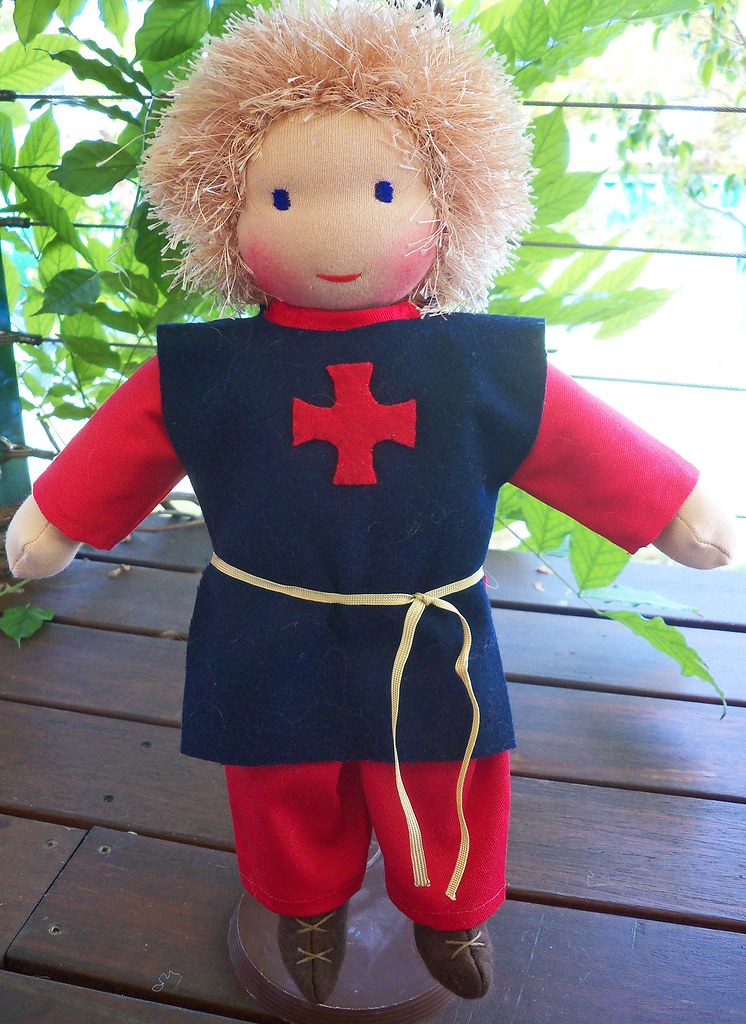
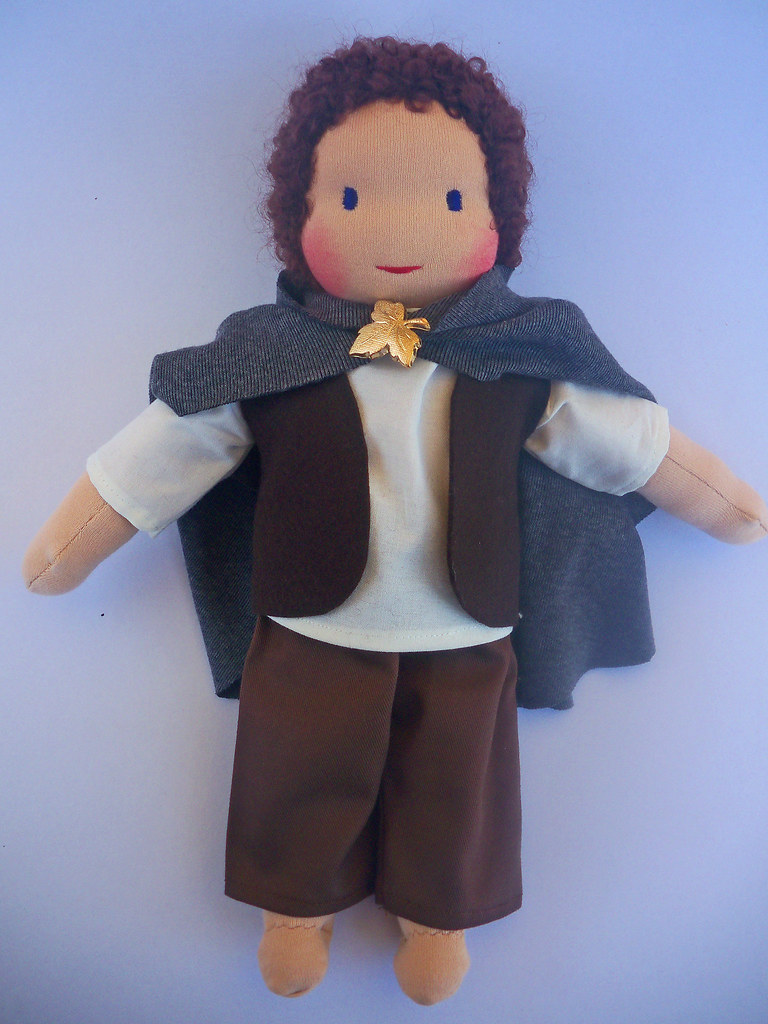
I love selling my dolls at fairs. The best part is not how many I sell, but the children's reactions. I notice that all girls are immediately attracted to the dolls, even 6 month old babies' faces light up as though dolls are already hardwired in their neurology. Some boys, usually between the ages of 6 and 8, fall in love with Frodo (as per photo) or the Parsifal knight doll. But most boys, especially babies and toddlers, need the doll to come alive for them.
A mother carried her toddler boy to my stall and pointed out a baby doll to him. The boy turned his head away in disgust. So, I picked up the doll and made it play peek-a-boo with him. I made it wave and talk, At first he covered his face, but slowly he started to look at the doll for longer. When I saw he was starting to look intrigued by this doll, I made the doll say: "Can I touch you?" A faint smile came to the boys face and he took his hands away from his eyes. He was still very wary, but now he couldn't take his eyes off it. The doll continued to make spontaneous comments like: "You could be my friend." Soon it was time to leave, but now the boy had fallen in love. He reached out his hands for the doll and started crying for it! His mum promised him one for Christmas, but he wanted it now.
I'm sure he won't be scarred for life over that little incident, but it demonstrated a point I always make: that boys need the doll to come to life before they see it as a 'being'. Make it talk, interact, give it a personality, give it a name, interests, make it have emotions ... the sky's the limit here.
_______________________________
Sunday, August 21, 2011
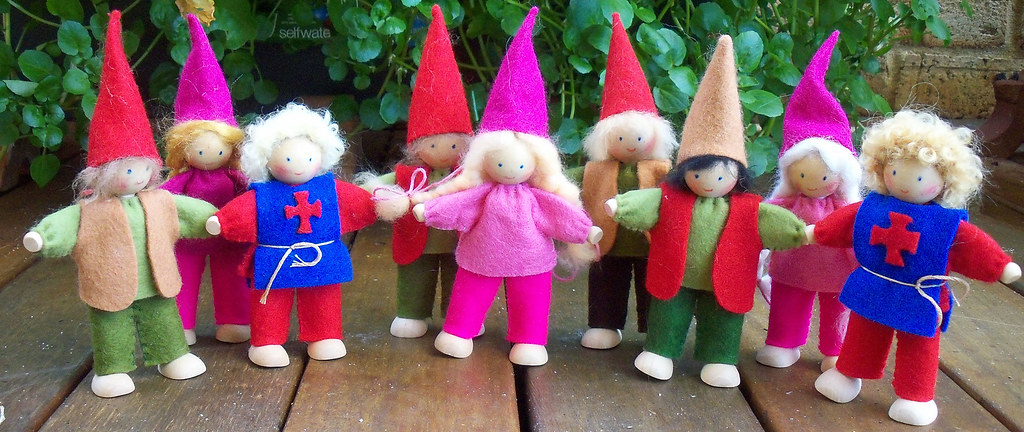
More Gnomes!
Spring is almost here and I will be at the Spring Market Day at Perth Waldorf School, Bibra Lake, on the 20th of September from 8.15am, with these gnomes, waldorf dolls, wool stuffing, tricot, my DVDs and more! Hope to see you there.

Monday, August 8, 2011
Little Parsifal Knight Dolls
I just love making these little dolls. I buy the wood and wire frames Winterwood and make their hair from crocheted mohair boucle.

Tuesday, August 2, 2011
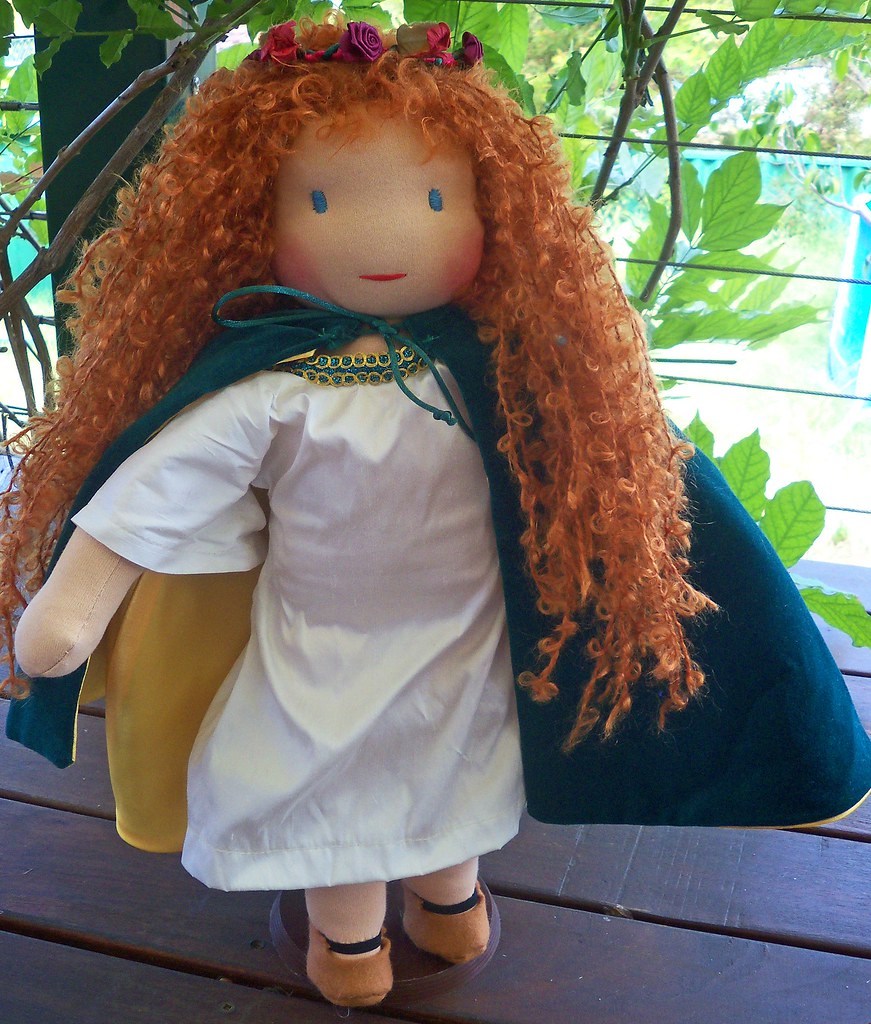
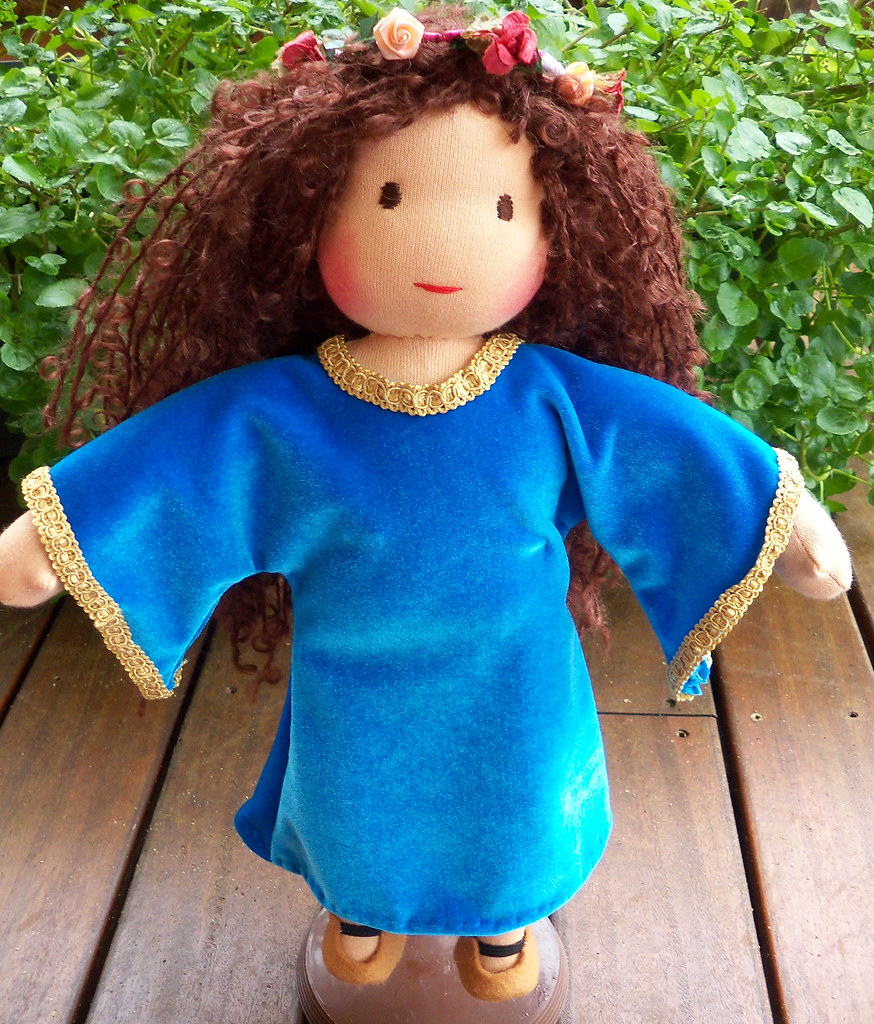
NEW PATTERN!! Medieval/Renaissance Outfit for dolls
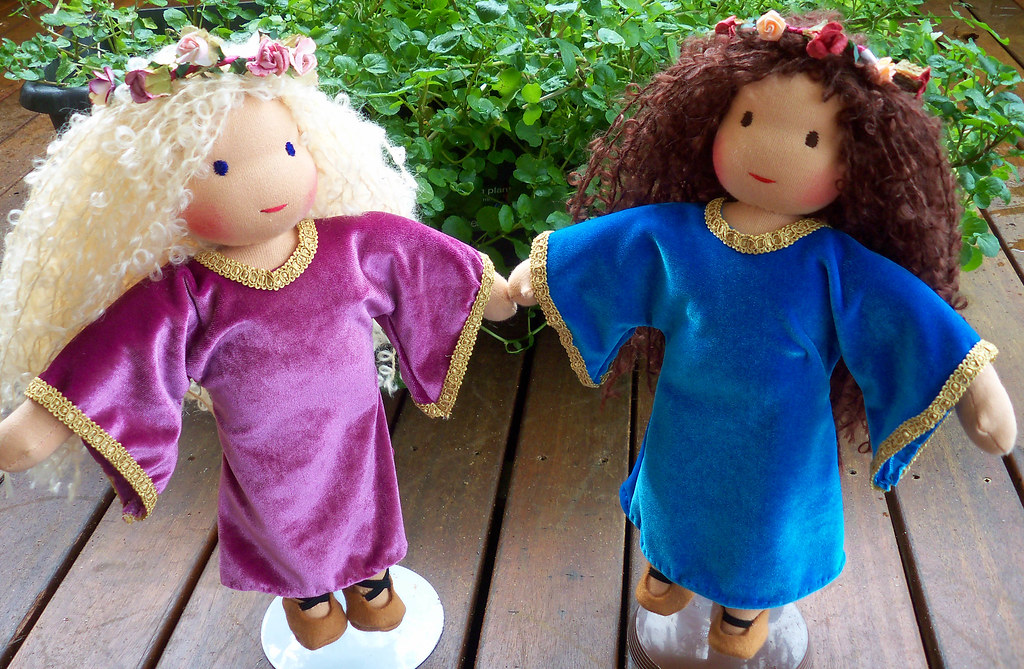
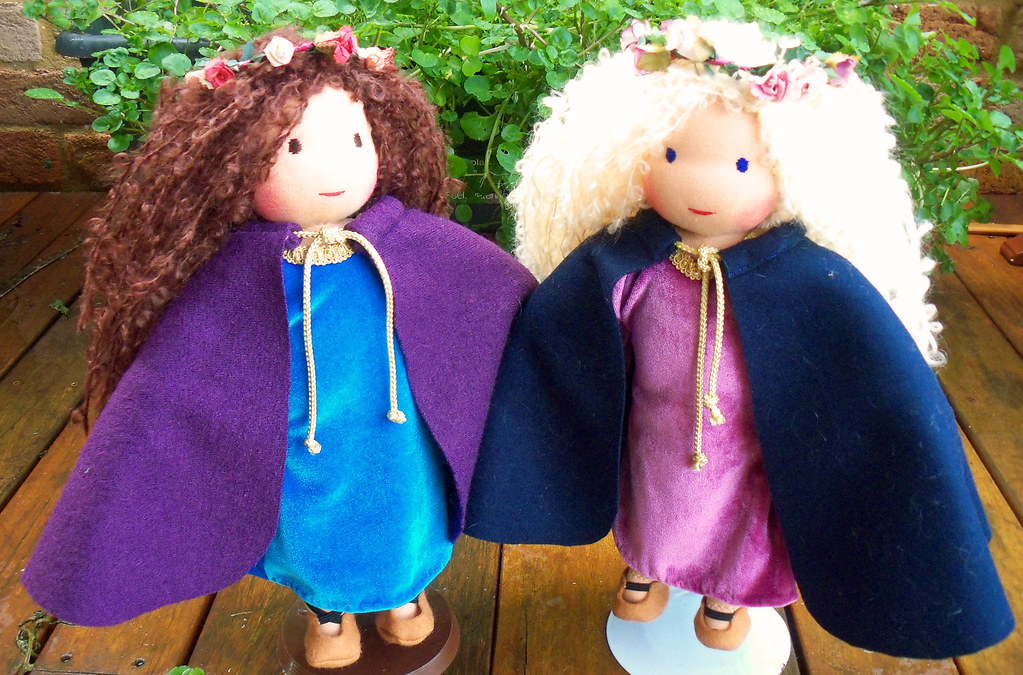
Finally the new Medieval Dress, Cape, Hair Wreath and Shoes pattern is available! The pattern is created for 13-14" dolls, but it be enlarged, as always. To do this, you need to print the templates and take them to the printers and have them enlarged by percentage, according to the doll size. Click on the pics for a larger view ....
 This is the easiest clothing pattern I have, and the best one so far! I love short-cuts and this pattern has designed to be simple yet effective.
Included: 20 pages, 29 photos, 6 templates, and lots of clear instructions.

Included: 20 pages, 29 photos, 6 templates, and lots of clear instructions.
Monday, August 1, 2011
Thursday, July 21, 2011
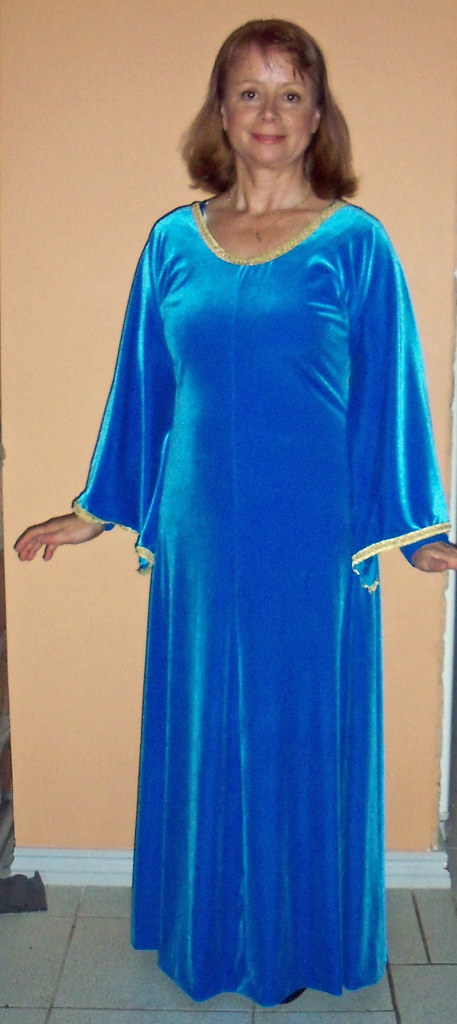
The Medieval Dress: First, the human version ...
Within a few days I will have a new doll's clothing pattern out, which will be based on this stunning medieval dress pattern, which I made for a medieval banquet. It is such a simple pattern because there are no sleeves to set in. I was told by a medieval clothing expert from the SCA that the seamless sleeve was typical of that era, and it really looks effective. Watch this space closely as I will soon have this pattern available for Waldorf Dolls. The new pattern will include a cape, shoes and hair wreath!

 The new pattern will be made for the 13-14" doll, but if you want to make it larger just take it to a printers, and have it enlarged by percentage.
The velour I made these dresses from has a rich look and feel about it. It has 4 way stretch and doesn't fray!! It hangs so well and doesn't crease no matter what you do. If you're in Australia, you can buy it from Spotlight in a variety of colours.
A close-up of the sleeve
Now to decide which dress to wear to the banquet;
blue or pink?? .......
Monday, January 31, 2011
Lost And Found
We watched a movie called "Lost and Found" on Christmas eve, and my son loved it so much that he asked me to make a boy and a penguin. The story is very simple and there is no talking. It's about a penguin who befriends a boy and the boy wants to return the penguin to Antarctica, but when they get there they decide they don't want to be apart from each other. Here is the boy and penguin I made using the movie pics as a guide. I crocheted the cap and knitted the jumper.


Saturday, December 18, 2010
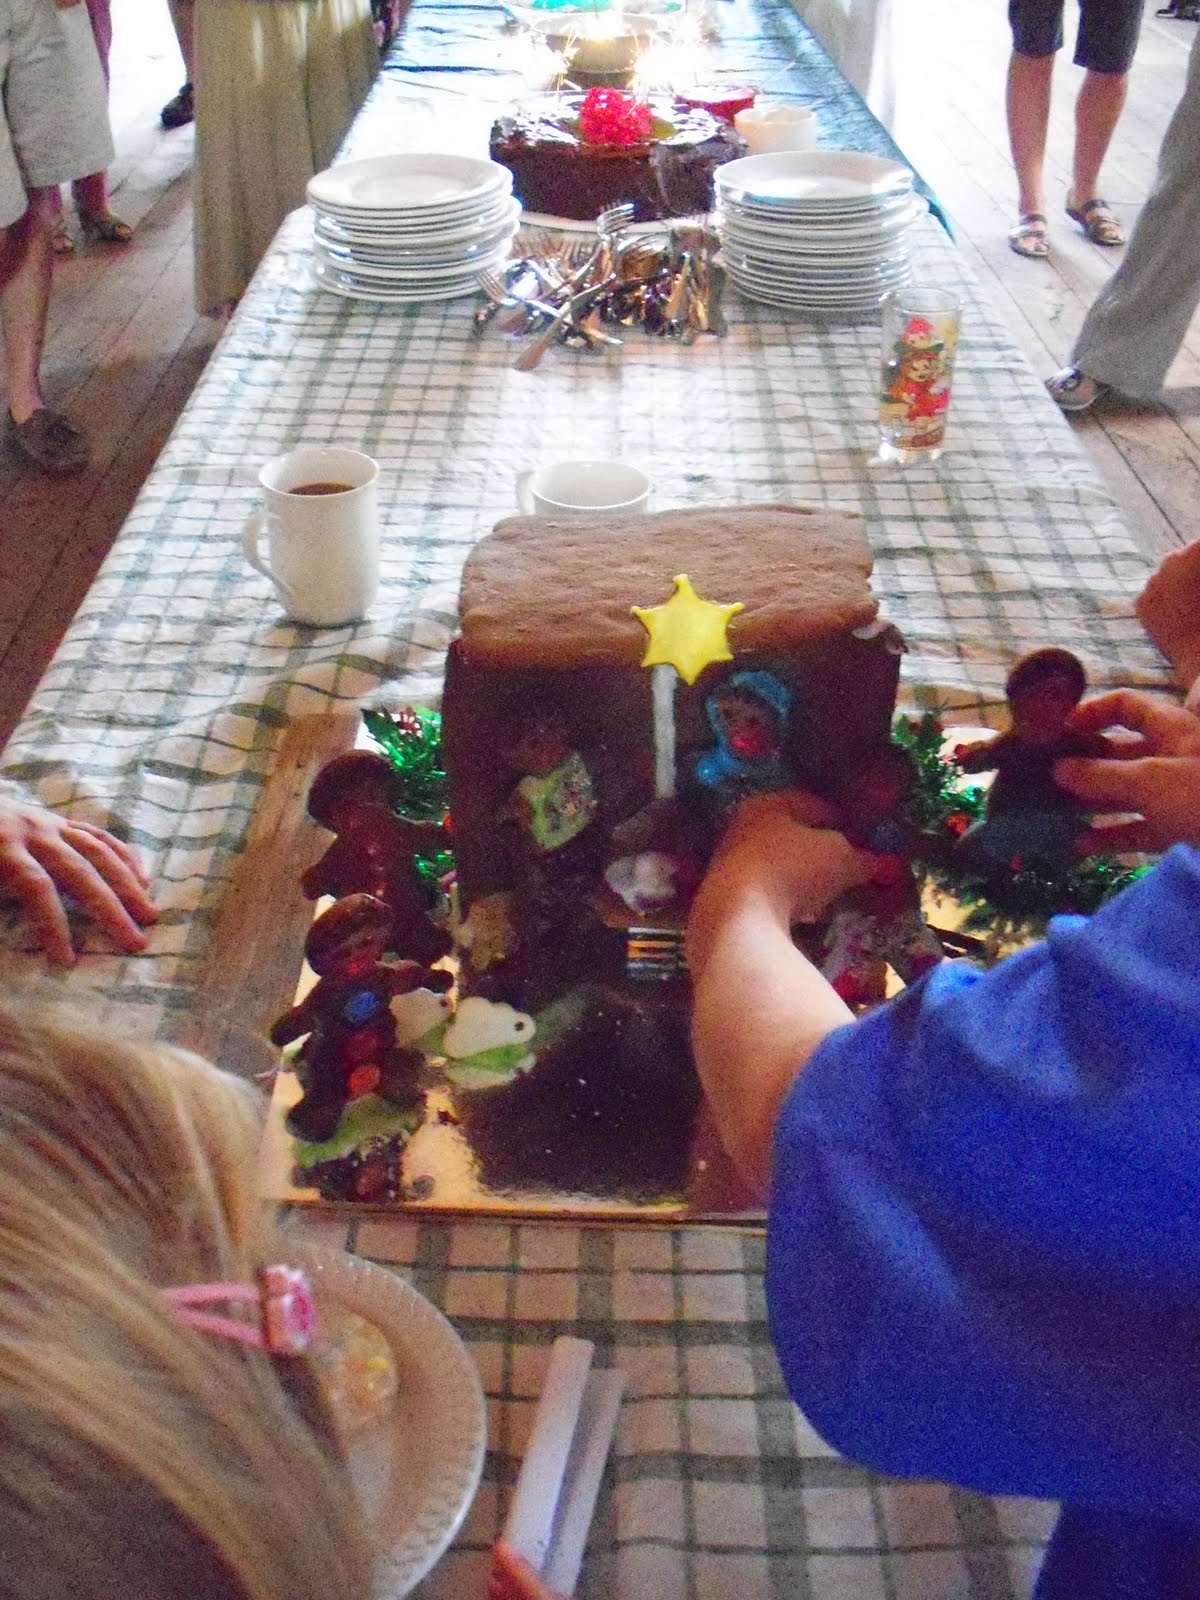
Gingerbread Nativity Scene
Have you always had a secret longing to "eat" Christmas? How about a gingerbread nativity scene?
 I used this recipe: http://www.taste.com.au/recipes/9761/gingerbread+men It was the right amount and great tasting gingerbread. Baby Jesus is a jellybaby, the sheep are marshmallows and everthing else is made from lollies and icing sugar.
The kids couldn't wait to eat it


 There .... demolished in less than 2 minutes!
I used this recipe: http://www.taste.com.au/recipes/9761/gingerbread+men It was the right amount and great tasting gingerbread. Baby Jesus is a jellybaby, the sheep are marshmallows and everthing else is made from lollies and icing sugar.The kids couldn't wait to eat it
 There .... demolished in less than 2 minutes!
Tuesday, October 26, 2010
TUTORIAL: Waldorf Gingerbread Men
 These little gingerbread men are made from pure wool felt, though they look yummy enough to eat!
A cookie cutter works great as a pattern template:


 I started sewing the two pieces of felt together at the first foot, then outside of the leg, all the way around the body and finished at the bottom of the second foot.
  Then I stuffed them with wool, making sure I got the stuffing right into their hand.
  I then finished sewing up the stuffing hole
and trimmed the arms and feet with braid. The buttons and bow tie are made from black felt. I sewed the black bead eyes, starting my needle from the side of the head and finishing at the other side. The mouth is made from red emboidery thread and I used 2 stitches to make a smiling mouth, also starting and finishing at the side of the head. Sew some gold thread for hanging on top of the head.
Tuesday, October 12, 2010
TUTORIAL: Hair Layering
I've been using this homemade tool, made by my husband, for the past few years. It makes the hair strands all the same length in layers, and saves lots of time. The hair layering tool is 22" in length, the pegs and 21" and 8" apart, and these 3 pegs can make 5 different hair lengths.
 For a long haired 16" Child Doll, like my Radiance Child pattern, you would use 2 different layers for the hair. The first layer would be shorter and would be hooked into the crochet cap of the lower part of the head. To make these first hair lengths you would wrap the yarn around the 8" wide pegs.
 Then you would cut one end:
 Open them out:
 Double them over and hook them into the back of the head of your doll's already crocheted cap:
 Once the strands have come up to about half way or more up the head, you would wrap a second batch of yarn around the outside pegs:
 Cut this batch at BOTH even ends, so you have a bunch of equal 18-20" strands:
 The long strands are hooked into the top and crown of the head.
  Once finished, use your fingers to comb her hair so that it falls nicely. And here is the finished product! And she is available for sale either on my website, or on from my Etsy site:
 For a long haired 16" Child Doll, like my Radiance Child pattern, you would use 2 different layers for the hair. The first layer would be shorter and would be hooked into the crochet cap of the lower part of the head. To make these first hair lengths you would wrap the yarn around the 8" wide pegs.
 Then you would cut one end: Open them out: Double them over and hook them into the back of the head of your doll's already crocheted cap:Once the strands have come up to about half way or more up the head, you would wrap a second batch of yarn around the outside pegs:Cut this batch at BOTH even ends, so you have a bunch of equal 18-20" strands:
 The long strands are hooked into the top and crown of the head. Once finished, use your fingers to comb her hair so that it falls nicely. And here is the finished product! And she is available for sale either on my website, or on from my Etsy site:
 Plus, if you dont' want to make one of those layering tool, then you can purchase a handmade one from me for $15.
~~~~~~~~~~~~~~~~~~~~~~~~~~~~~~~~~~~~~~~~~~~~~~~~~~~~~
Subscribe to:
Posts (Atom)